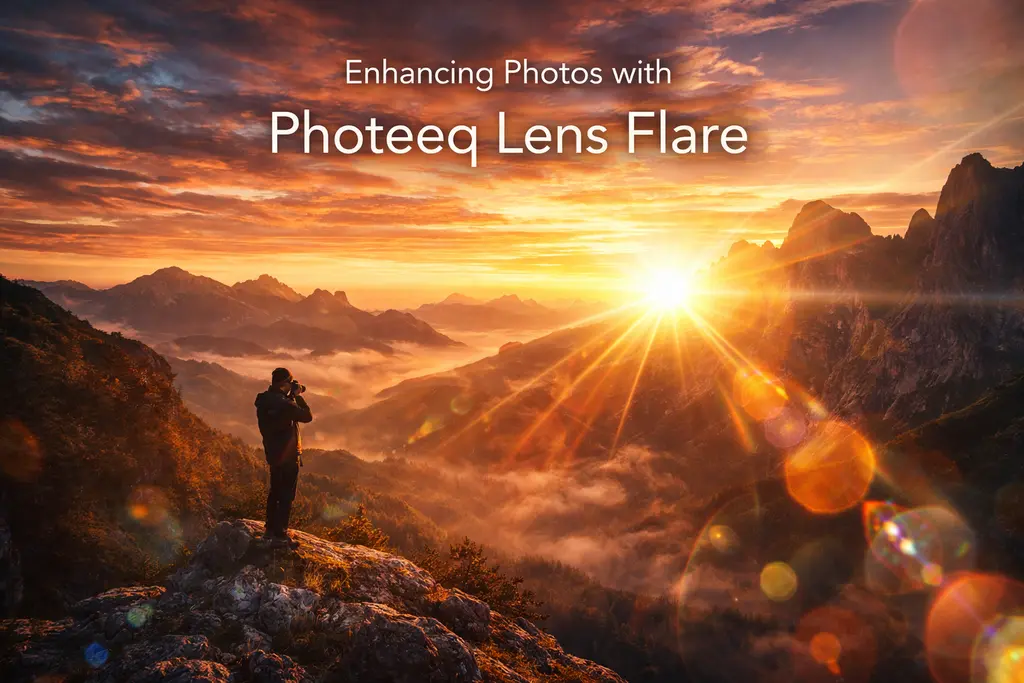
Lens flare can transform ordinary photos into stunning works of art. It adds depth and drama to images.
Photeeq lens flare is a powerful tool for photographers. It allows you to add realistic lens flare effects to your photos.
This tool is perfect for enhancing your images with creative flair. It offers customizable options to suit your artistic vision.
Whether you’re a beginner or a seasoned pro, Photeeq lens flare is user-friendly. It integrates seamlessly with popular photo editing software.
In this guide, we’ll explore how to use Photeeq lens flare. Discover tips and techniques to elevate your photography with lens flare overlays.
Understanding Lens Flare in Photography
The scattering of light through a lens system is what causes lens flare. The result is an artistic and frequently spectacular picture. This effect can contribute to the creation of warm and deep photographs.
One of the ways that photographers apply lens flare is as a tool to create the mood. It draws attention to some parts of the picture.
Benefits of lens flare in photography include:
- Adds visual interest
- Enhances mood and atmosphere
- Creates a cinematic look
Lens flare can simulate sunlight or artificial light, adding realism. Understanding how light interacts with the lens is essential.

Mastering lens flare empowers photographers to transform their images. With practice, lens flare becomes a powerful tool to enhance storytelling.
What Is Photeeq Lens Flare?
Photeeq lens flare is an advanced tool for adding impressive and real-life flare effects to photographs. It brings out the artistic appeal of lens flare that is not dependent on ideal situations.
This tool is a delight to work with and caters to all photographers, regardless of their experience. The different settings available for the effects provide very fine control. The users can change the strength, hue, and location of the effect with great simplicity.
Key benefits of Photeeq lens flare include:
- Customizable overlays
- Non-destructive editing
- Compatibility with top photo software
The integration of Photeeq lens flare in your workflow can give your images a significant boost in the visual aspect. The technology allows you to make remarkable pictures that convey a certain mood.

Key Features of Photeeq Lens Flare
Photeeq lens flare is a great option for photographers and has been placed as a must-have tool because of its numerous features. One of its most remarkable features is the large amount of pre-built overlays that can be found in the library. These overlays can be easily used to make any photo look different in no time at all.
One of the main advantages that Photeeq lens flare offers is the possibility of customization. The users are able to adjust the intensity, color, and position according to their artistic imagination. The whole process of customization ensures that every single photo has that distinct quality of its own.
Another major advantage of Photeeq lens flare is that it offers non-destructive editing. This allows users to be adventurous in their edits while keeping the original photo intact. This is particularly crucial when it comes to maintaining the high quality of an image.
In the end, the software keeps on coming out with new overlays and features regularly, and thus, it stays in sync with the trends. Every time the customers can expect nothing short of the most up-to-date creative tools and options.
Key features include:
- Extensive overlay library
- Customizable settings
- Non-destructive editing
- Regular updates for new features
How to Use Photeeq Lens Flare: Step-by-Step Guide
Utilizing Photeeq lens flare to improve your photographs is an easy task. First, install the plugin in the photo editing software which you use most. The setup is fast and very friendly even for beginners.
After successful installation, open the photo that you want to elevate. Go to the Photeeq lens flare section and check out the different overlays. Picking the right overlay is the first step for working on editing creatively.
Move the overlay and resize it according to your image. Consider the light source and also the direction of the light that you want.
Steps to Apply a Basic Overlay:
- Choose an overlay from the library.
- Position the overlay over the light source in your image.
- Adjust the size and angle to blend naturally.
Further customization allows for deeper personalization. Fine-tune brightness, contrast, and color to achieve the desired effect. Experiment with these settings to find what works best for your image.
Advanced Customization Tips:
- Change the overlay’s hue to match the scene’s mood.
- Adjust opacity for subtle or bold effects.
- Layer multiple effects for complex compositions.
Preview your changes to ensure the effect enhances rather than distracts from the main subject. Happy with your edits? Save your image, preserving high resolution for optimal print or display.

Creative Tips for Lens Flare Photography
The addition of lens flare to your photography can change the atmosphere remarkably. It is a matter of balancing between art and technique, hence, lending the image both depth and emotion. Photeeq lens flare gives the ability to fine-tune each shot with accuracy.
The best way to use lens flare overlays is to think like a painter. Allow the light to lead your imaginative work, giving prominence to a distinct narrative in each picture. The introduction of flares that are not very conspicuous often improves more than that of bold and obvious ones.
Ideas for Creative Use:
- Use flares to mimic natural sunlight.
- Combine lens flare with movement for dynamism.
- Accent key areas, like eyes or landscapes.
Playing with different lighting scenarios broadens possibilities. Each photo becomes an experiment in light, transforming simple shots into works of art.

Best Practices for Applying Lens Flare Overlays
Effective use of lens flare overlays can greatly enhance your photography. The key is knowing when and how to apply them. It’s not just about adding light; it’s about creating an atmosphere.
When using lens flare overlays, start by considering the original image’s light source. Ensure the flare aligns naturally with existing highlights. This integration maintains the image’s realism and composition.
Consider These Practices:
- Adjust intensity to avoid overpowering the subject.
- Test different overlay positions for optimal impact.
- Balance flare with the overall mood of the image.
By thoughtfully applying these overlays, you add depth without distracting from the main focus.
Common Mistakes and How to Avoid Them
Even with the best tools, mistakes can happen. Overusing lens flare or misaligning it with the light source are common errors. These can make an image feel unrealistic and crowded.
To avoid these pitfalls, keep these points in mind:
- Avoid excessive flare that distracts from the subject.
- Ensure flare alignment matches the natural light angle.
- Use subtlety to maintain image balance.
Being mindful of these aspects will enhance your images effectively without overpowering them.
Frequently Asked Questions about Photeeq Lens Flare
Many have questions about the benefits of using Photeeq lens flare. It’s understandable to seek clarity before integrating a tool into your workflow.
Here are common inquiries:
- Is Photeeq lens flare beginner-friendly?
- Does it support both Windows and Mac?
- Can I test effects before applying them?
Understanding these basics can help you decide if it fits your needs.
Conclusion: Elevate Your Images with Photeeq Lens Flare
Photeeq lens flare has broadened the horizon of creativity for photographers. It effortlessly imparts dimensionality and an artistic quality to photographs. No matter if you want a retro appearance or a filmic look, the application produces magnificent results.
Practicing this effect, you will be able to change normal pictures into amazing ones. The use of Photeeq for lens flare photography opens up a great number of options. Enter the lens flare space and see how your images are infused with tales and feelings.